Roof Replacement Steps Homeowners Expect: Clear Guide
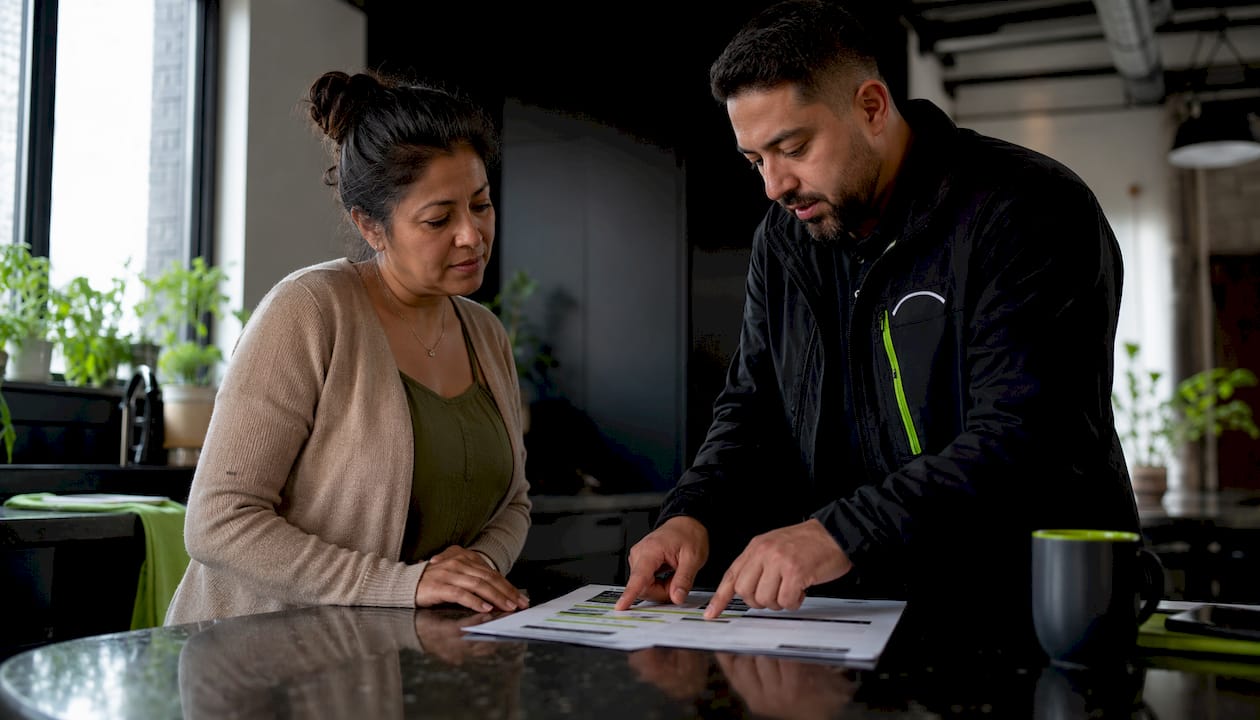
Roof replacement steps homeowners expect include inspection, permits, tear-off, installation, and a final inspection to help plan the project.
A typical residential roof replacement follows a predictable sequence: inspection, permits and planning, tear-off (or overlay), deck repair, underlayment and flashing, material installation, cleanup, and final inspection. For most single-family homes, on-site work takes 1–3 days, while the full project from first call to permit closeout commonly runs several weeks depending on permitting, material lead times, and any deck repairs discovered along the way.
For a material-by-material replacement plan tailored to a Tampa Bay home, compare Hytz Roofing's residential roof replacement options.
Here’s the high-level sequence at a glance:
- Inspection and estimate (attic + exterior, 30–60 minutes)
- Contract signing, material ordering, and permit application
- Scheduling and homeowner prep (vehicles, pets, neighbors)
- Tear-off or overlay decision and deck inspection
- Underlayment, ice and water shield, and flashing installation
- Primary material installation (shingles, metal, or tile)
- Ventilation, ridge caps, and penetration flashing
- Cleanup, magnetic sweep, and final walkthrough
- Municipal final inspection and permit closeout
Quick timeline: On-site installation runs 1–3 days for most homes. The full project, including permitting and scheduling, typically spans 2–4 weeks for most homes. Hytzroofing holds the GAF Master Elite® Contractor designation, earned by fewer than 2% of roofing contractors in North America — a credential worth confirming with any contractor you hire.
Table of Contents
- What does the full roof replacement timeline look like?
- What are the roof replacement steps homeowners expect at each stage?
- How should you prepare your home before installation day?
- What actually happens on installation day?
- Why do permits and inspections matter so much?
- What drives the cost, and how can you finance a replacement?
- What warranties cover your new roof, and what keeps them valid?
- Why Hytzroofing? Credentials and what you can expect on your project
- Key Takeaways
- What the roofing industry gets wrong about homeowner expectations
- Ready to schedule your roof replacement with Hytzroofing?
- Useful resources for permits, warranties, and material guidance
What does the full roof replacement timeline look like?
Knowing the difference between “on-site install time” and “total project time” saves a lot of frustration. The crew might be on your roof for just two days, but the calendar from first call to permit closeout often stretches longer.
| Phase | Typical Duration | Common Delay Factors |
|---|---|---|
| Inspection and estimate | 1–2 days | Scheduling availability, weather |
| Contract signing and material ordering | 1–5 days | Material availability, color/style selection |
| Permit application and approval | 3–14 days | Municipality processing times, plan review |
| Scheduling and crew assignment | 1–4 weeks | Season, backlog, storm surge demand |
| On-site installation | 1–3 days | Roof complexity, deck repairs, weather |
| Cleanup and municipal final inspection | 1–5 days | Inspector availability, permit office backlog |
Estimate delivery typically runs 24–48 hours after the initial inspection, and scheduling usually falls 1–4 weeks out depending on the season. Florida summers and post-storm periods can push that window further.
The most common delay factors homeowners don’t anticipate:
- Permit processing: Some municipalities take a week or more, especially after a major storm event when every contractor in the area files simultaneously.
- Material lead times: Specialty tiles, metal panels, or specific shingle colors can add days to the ordering phase.
- Weather holds: Active rain or high winds pause installation mid-job, sometimes adding a day or two.
- Discovered deck damage: Rotted sheathing found during tear-off requires same-day repairs before installation can continue.
- Insurance and claims processing: If your replacement is storm-related, adjuster approvals and supplement negotiations add time before a contract can even be signed.
What are the roof replacement steps homeowners expect at each stage?
This is the full sequence, broken into what your contractor handles and what you need to do or verify.
-
Initial inspection and measurements. A thorough roof inspection takes 30–60 minutes and covers both the exterior (shingles, flashing, gutters, fascia) and the attic (ventilation, moisture, insulation condition). The attic check matters because hidden moisture or inadequate ventilation can shorten a new roof’s life significantly. Photograph the attic before work starts.
-
Scope writing and estimate delivery. The contractor documents every line item: tear-off, decking allowance, underlayment type, material quantities, flashing, ventilation, and disposal. Understanding how to read roofing estimate line items helps you compare quotes accurately. Estimates typically arrive within 24–48 hours of the inspection.
-
Contract signing and deposit. Before you sign, confirm these clauses are present: scope of work with a decking allowance (typically priced per sheet of replaced plywood), permit responsibility (contractor should pull it), payment schedule with retainage held until permit closeout, warranty coverage and manufacturer registration window, change-order process, and cleanup standards including magnetic sweep.
-
Permit application. Your contractor files with the local building department. Working without a permit can void your homeowner’s insurance and create serious complications when you sell the home. Confirm the permit is posted at the job site before any work begins.
-
Pre-job homeowner preparation. Move vehicles, protect landscaping, clear the yard, and notify neighbors. Full details in the checklist section below.
-
Tear-off vs. overlay decision. Full tear-off is strongly preferred because it exposes the deck for inspection and preserves long-term warranty validity. Overlay is faster and cheaper but hides potential rot and typically voids manufacturer warranty coverage. If a contractor pushes overlay without a clear reason, ask why.
-
Deck inspection and repairs. Once the old material is off, the crew walks the deck and marks any soft spots, rot, or damaged sheathing. Repairs happen the same day before any new material goes down. Ask for photos of every replaced sheet.
-
Underlayment and ice and water shield. Synthetic underlayment goes down first as the primary moisture barrier. Ice and water shield is applied at eaves, valleys, and around penetrations. This layer is your last line of defense if a shingle fails.
-
Flashing installation. Step flashing, drip edge, and valley flashing are set before shingles reach those areas. Flashing is one of the most common failure points on older roofs, so confirm it’s being replaced, not reused.
-
Primary material installation. Shingles, metal panels, or tile are installed from the eave up. Each course overlaps the one below per manufacturer specs. This is the longest phase of the on-site work.
-
Ventilation and ridge work. Ridge vents, box vents, or power ventilators are installed or upgraded. Proper attic ventilation is required for most manufacturer warranties to remain valid.
-
Penetration flashing. Pipe boots, chimney flashing, and skylight flashing are sealed and integrated with the field material. These are the spots most likely to leak if rushed.
-
Cleanup and magnetic sweep. Crews should run a magnetic sweep over the lawn and driveway at the end of each workday. Stray nails are a real hazard for tires and bare feet.
-
Final walkthrough and permit closeout. Walk the property with the foreman before the dumpster leaves. Confirm flashing alignment, ridge cap appearance, and perimeter cleanup. Then wait for the municipal inspector to sign off before releasing final payment.
Pro Tip: Insist on a daily magnetic sweep and an end-of-day walkthrough with the foreman. These two habits catch most problems while the crew is still on site and equipment is still available to fix them.
How should you prepare your home before installation day?
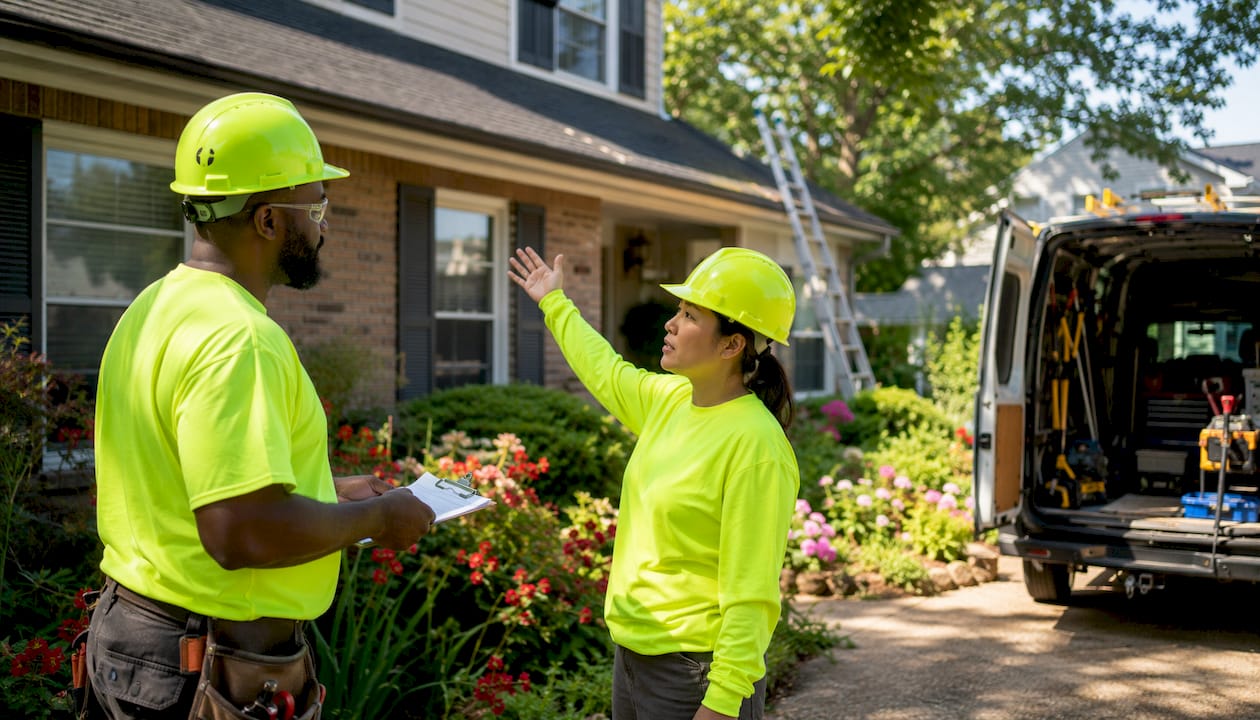
Good preparation on your end keeps the crew moving and protects your property. Here’s what to handle in the 24–72 hours before work starts.
Outside the home:
- Move all vehicles at least 15–20 feet from the house to clear the drop zone and protect against falling debris.
- Relocate grills, patio furniture, potted plants, and children’s play equipment away from the roofline.
- Confirm dumpster placement with your contractor the day before. Dumpsters are heavy and can crack driveways if placed incorrectly.
- Cover or move any landscaping directly below the eaves. Shingle granules and debris will fall.
Inside the home:
- Remove framed photos, mirrors, and wall art from upper-floor walls. Tear-off vibration can knock them loose.
- Cover or move valuables stored in the attic. Dust and debris filter through during tear-off.
- Take pre-job photos of your interior walls, attic, and exterior landscaping. This documentation protects you if any dispute arises.
Family and pet logistics:
- Plan to be away from home on tear-off day if possible. The noise is intense and the vibration is constant.
- If leaving isn’t an option, confine pets in a quiet interior room away from exterior walls. Notify your neighbors 2–3 days in advance so they can plan around the noise too.
Day-before confirmation checklist:
- ✅ Permit posted at the job site
- ✅ Dumpster placement confirmed
- ✅ Contractor start time and parking instructions confirmed
- ✅ Your phone number shared with the foreman as the point of contact
- ✅ Your vehicles moved or a plan in place for where they’ll go
Pro Tip: Take a quick video walkthrough of your yard and driveway the morning before work starts. If a contractor’s equipment damages your property, timestamped video is far more useful than memory.

What actually happens on installation day?
Tear-off day is the loudest and most disruptive part of the entire project. The noise is comparable to a jackhammer, and you’ll feel vibration through your walls and floors. That’s normal. Here’s how a typical installation day breaks down.
Day 1:
- Crew arrives early (usually 7–8 AM), sets up ladders, and positions the dumpster.
- Tear-off begins. Old shingles, underlayment, and sometimes flashing are stripped and thrown into the dumpster.
- Deck inspection happens immediately after tear-off. Any damaged sheathing is repaired before moving forward.
- Underlayment and ice and water shield go down before the crew leaves for the day. The roof is never left exposed overnight without protection.
- End-of-day magnetic sweep and perimeter cleanup.
Day 2:
- Bulk of shingle, metal, or tile installation. This is the most visible progress day.
- Ridge caps, ventilation work, and penetration flashing are completed.
- Trim and finishing details are addressed.
Day 3 (if needed):
- Reserved for complex roofs, extended deck repairs, or weather delays.
- Final flashing details and any remaining trim work.
Safety rules during installation:
- Keep children and pets completely clear of the work zone at all times.
- Don’t park near the dumpster or material drop zone.
- Follow the foreman’s instructions if you need to enter or exit the home.
What to check that evening:
- Is the permit still posted and visible?
- Has the perimeter been swept and cleared of debris?
- Is visible flashing properly seated at valleys and edges?
- Are there any exposed nails or lifted shingles visible from ground level?
Quick note: If you have infants, elderly family members, or pets who are sensitive to noise, plan to be away for at least Day 1. The vibration and sound levels during tear-off are genuinely disruptive.
Why do permits and inspections matter so much?
Permits aren’t just paperwork. A final municipal inspection and permit closeout confirm that the work meets local building codes, and that documentation protects you in two specific ways: during a future insurance claim and when you sell the home.
What to verify before and during the project:
- Confirm your contractor is pulling the permit, not asking you to do it yourself.
- Verify the permit is posted at the job site before tear-off begins.
- Ask for the permit number so you can look it up in your municipality’s online portal.
After installation:
- Do not release final payment until the municipal inspector has signed off.
- Collect the inspector’s sign-off document and store it with your other project paperwork.
- If your replacement is insurance-related, your adjuster may require permit documentation as part of the claim.
Documents to keep permanently:
- Signed contract with full scope of work
- Permit and permit closeout / inspector sign-off
- Manufacturer warranty paperwork (with registration confirmation)
- Written workmanship warranty from your contractor
- Pre- and post-installation photos, including flashing and deck repair documentation
Knowing how to document roofing project photos at each stage makes this documentation far more useful if you ever need to file a claim or dispute a warranty issue.
What drives the cost, and how can you finance a replacement?
Roof replacement costs vary widely based on several factors. Here’s what actually moves the number.
Primary cost drivers:
- Tear-off vs. overlay: Tear-off adds labor and disposal costs but is almost always the right choice.
- Deck repairs: Rotted sheathing discovered during tear-off adds material and labor costs per sheet replaced.
- Roof size and complexity: Square footage, pitch, number of valleys, and penetrations all affect labor time.
- Material selection: Asphalt shingles are the most affordable option. Metal roofing and tile (clay, concrete, or synthetic) carry higher material costs but longer lifespans.
- Ventilation upgrades: Replacing or adding ridge vents, soffit vents, or power ventilators adds to the scope.
- Warranty tier: Higher-tier manufacturer warranties (like GAF’s System Plus or Golden Pledge) require specific installation standards and registered contractors, which affects both material and labor costs.
Cost context: Installed costs for a full asphalt shingle replacement on a typical single-family home vary significantly by region, roof size, and material grade. Get at least three written estimates to establish a realistic range for your specific home and market.
Financing options:
- Contractor financing partners: Many contractors, including Hytzroofing, offer financing through third-party lenders. Understanding roof financing term lengths helps you compare monthly payment options without overextending.
- Home equity loan or HELOC: Often carries lower interest rates than contractor financing for homeowners with sufficient equity.
- Seasonal or promotional programs: Some lenders offer deferred-interest or low-rate promotional windows, typically in slower roofing seasons.
On the “25% rule”: You may have heard that if repairs cost more than 25% of replacement cost, you should replace instead of repair. This is a useful rule of thumb, not a universal standard. Your insurance policy, the age of your roof, and the extent of structural damage all factor into that decision. Confirm the math with your contractor and adjuster before committing either way.
What warranties cover your new roof, and what keeps them valid?
Two separate warranties protect a new roof, and they cover different things.
Manufacturer material warranty covers defects in the roofing materials themselves. Most major manufacturers, including GAF, require the homeowner to register the warranty within a specific window after installation (often 30–60 days). Miss that window and you may lose coverage. The warranty tier also depends on whether your contractor holds a qualifying designation, like GAF Master Elite, which unlocks enhanced warranty options not available through standard contractors.
Contractor workmanship warranty covers installation errors. Length and terms vary by contractor, typically ranging from 1–10 years. Get this in writing before the job starts, not after.
Immediate post-installation actions:
- Register your manufacturer warranty as soon as the job is complete. Don’t wait.
- Confirm your contractor has submitted any required installation documentation to the manufacturer.
- Store your permit closeout, inspection sign-off, and warranty paperwork together in a single folder.
Ongoing maintenance to keep warranties valid:
- Schedule an annual roof inspection to catch minor issues before they become warranty claims.
- Clean gutters at least twice a year to prevent water backup under the eaves.
- Check flashing around chimneys, vents, and skylights after major storms.
- Photograph any visible changes (lifted shingles, granule loss, flashing gaps) and document the date.
Why Hytzroofing? Credentials and what you can expect on your project
Choosing the right contractor matters as much as choosing the right material. Here’s what Hytzroofing brings to every replacement job.
Verified credentials:
- GAF Master Elite® Contractor designation, held by fewer than 2% of roofing contractors across North America. This credential requires verified licensing, insurance, ongoing training, and community reputation.
- GAF President’s Club Award, reserved exclusively for the best-performing Master Elite contractors.
- 2024 Brava Roof Tile Excellence Award for outstanding installation quality using Brava’s premium synthetic roofing products.
- Angi Super Service Award 2025, reflecting consistently high ratings across one of the nation’s largest home services platforms.
- GAF Certified™ Commercial Contractor status for flat and low-slope commercial roofing systems.
- ✅ BBB Accredited, A+ rating
- ✅ Florida Contractor License #CCC1332551
- ✅ Full general liability insurance and workers’ compensation coverage
What Hytzroofing guarantees on every replacement:
- Licensed and insured crew on every job
- Permit handling from application through closeout
- Daily magnetic sweep and end-of-day cleanup
- Photo documentation of deck repairs and flashing details
- Warranty registration support so you don’t miss the manufacturer’s window
- Written scope of work before any contract is signed
Understanding roofing brand trust signals helps you evaluate any contractor you’re considering, not just Hytzroofing. Credentials, licensing, and manufacturer designations are the floor, not the ceiling.
Key Takeaways
A successful roof replacement comes down to preparation, documentation, and choosing a contractor whose credentials you’ve verified before signing anything.
| Point | Details |
|---|---|
| On-site install is fast | Most homes are done in 1–3 days on-site; the full project runs several weeks with permitting and scheduling. |
| Permits protect you | Withhold final payment until the municipal inspector signs off; unpermitted work can void insurance and complicate resale. |
| Tear-off beats overlay | Full tear-off exposes hidden deck rot and preserves long-term manufacturer warranty validity. |
| Document everything | Collect signed contract, permit closeout, warranty paperwork, and pre/post photos before the dumpster leaves. |
| Hytzroofing’s credentials | GAF Master Elite® status, GAF President’s Club Award, Angi Super Service Award 2025, and Florida License #CCC1332551 back every replacement job. |
What the roofing industry gets wrong about homeowner expectations
Most roofing content focuses on materials and price. The real problems homeowners run into are almost never about which shingle they picked. They’re about process failures: a contractor who skipped the permit, an overlay that hid deck rot for three years, or a warranty that was never registered because nobody told the homeowner there was a deadline.
The overlay issue deserves more attention than it gets. Overlay is sold as a cost-saving shortcut, and sometimes it genuinely is appropriate. But when a contractor recommends overlay without walking the attic first, that’s a red flag. Deck rot doesn’t announce itself from the outside. The only way to know what’s under those old shingles is to remove them, and skipping that step means you might be installing a new roof over a compromised structure.
The permit issue is just as serious. Homeowners sometimes agree to skip permits because it seems to speed things up or reduce cost. What it actually does is create a liability that follows the home. When you sell, a buyer’s inspector will flag unpermitted work. When you file a claim, your insurer may deny it. The permit fee is trivial compared to those consequences.
My practical advice: ask for photo documentation of every sheet of decking that gets replaced. Insist on a deck allowance line item in your contract so you know the price per sheet before work starts, not after. And don’t release final payment until you’ve done a ground-level walkthrough and the permit is officially closed. That walkthrough is your best opportunity to catch anything before the crew and dumpster are gone.
Ready to schedule your roof replacement with Hytzroofing?
When you’re ready to move forward, Hytzroofing makes the first step simple. Call or request online and we’ll schedule a free inspection at a time that works for you. After the inspection, you’ll receive a written scope and estimate within 24–48 hours, covering every line item from tear-off through permit closeout.
From there, Hytzroofing handles the permit application, coordinates material delivery, and assigns a licensed, insured crew to your project. GAF Master Elite installation practices apply to every job, and we handle warranty registration so you don’t miss the manufacturer’s window. Financing options are available through our lending partners if you’d like to spread the cost over time.
To get started, request your free estimate for residential roof replacement in Tampa Bay and Central Florida. Have your address, approximate roof age, and any insurance claim details ready when you call. Most homeowners hear back within one business day.
Useful resources for permits, warranties, and material guidance
These sources support the permit, timeline, and warranty guidance throughout this article.
- InterNACHI roof inspection standards — inspection scope and attic assessment checklist
- Angi: how long does roof replacement take — on-site and full project timeline data
- The Spruce: roof replacement basics — permit closeout and resale implications
- This Old House: read this before you redo your roof — tear-off vs. overlay guidance
- RoofVista: what to expect during roof replacement — homeowner preparation and noise/safety guidance
- RoofVista: roof replacement checklist — permit requirements and consequences of skipping
- Owl Roofing: full roof replacement guide — scheduling timelines and seasonal variation
- Vertex Roofing: cleanup after roof replacement — magnetic sweep and homeowner walkthrough standards
- Energy Star: cool roofs — material performance and energy efficiency guidance
- Hytzroofing residential roofing Tampa — local replacement services and free inspection scheduling
Recommended
- Roofing Loan Types Compared: Your 2026 Guide | Hytz Roofing
- How to Read Roofing Estimate Line Items in 2026 | Hytz Roofing
- Choose the Best Roofing Contractor in Tampa Bay, Florida: Your Guide | Hytz Roofing
- Roof Repair in Tampa Bay: Your Guide to Florida’s Elements | Hytz Roofing
Related Hytz Roofing Services
Frequently Asked Questions
- How long does a roof last in Florida?
- Asphalt shingle roofs in Florida typically last 15–25 years due to intense UV exposure, high humidity, and frequent storm events — shorter than the 25–30 year lifespan in cooler climates. Metal roofs last 40–70 years; concrete tile 30–50 years. Regular maintenance and prompt repairs extend any roof's lifespan significantly.
- How much does a new roof cost in Tampa, Florida?
- A standard asphalt shingle roof replacement in Tampa ranges from $10,000 to $25,000 depending on roof size, pitch, and material selection. Metal roofing runs $18,000–$45,000; tile roofing $20,000–$50,000. Hytz Roofing provides free, no-obligation estimates — call (813) 436-0761.
- Does Hytz Roofing serve my area?
- Hytz Roofing serves the greater Tampa Bay area including Tampa, Brandon, Riverview, Clearwater, St. Petersburg, Sarasota, Lakeland, Orlando, and surrounding communities. Call (813) 436-0761 to confirm service availability in your area.
- What warranty does Hytz Roofing offer?
- Hytz Roofing provides a 25-year workmanship warranty on all installations. As a GAF Master Elite certified contractor, we can also offer the GAF Golden Pledge 50-year warranty — the strongest warranty in the roofing industry — on qualifying GAF material systems.
- How do I get a free roof estimate from Hytz Roofing?
- Call (813) 436-0761 or submit a request at hytzroofing.com/contact. Hytz Roofing provides free same-day inspections and written estimates with no obligation.