Post-Repair Roof Inspection: What Homeowners Must Know
Post-repair roof inspection helps homeowners verify completed work, identify any lingering damage, and document conditions for insurance or future maintenance.
Last updated: August 8, 2026
A post-repair roof inspection is a professional evaluation of your roof conducted after repairs are complete to confirm the work was done correctly and to catch hidden problems before they become costly. Known in the industry as a post-completion or quality verification inspection, this process protects your investment, your warranty, and your home’s structural integrity. Skipping it is one of the most common and expensive mistakes homeowners make. Whether you just had a few shingles replaced or a full section repaired after a Florida storm, a thorough roof evaluation after repairs gives you documented proof that the job meets code and manufacturer standards.
Homeowners deciding whether a repair or broader work is appropriate can use Hytz Roofing's residential roof inspection guidance to prepare for the next conversation.
What is a post-repair roof inspection and what does it cover?
A post-repair roof inspection is a structured quality verification that confirms workmanship meets both manufacturer warranty requirements and local building codes. It is not the same as the contractor’s own walkthrough. An independent inspection gives you an objective, documented assessment with no conflict of interest.
The inspection covers two distinct phases. The exterior phase examines every visible component of the roof system. The interior phase evaluates what you cannot see from the ground.
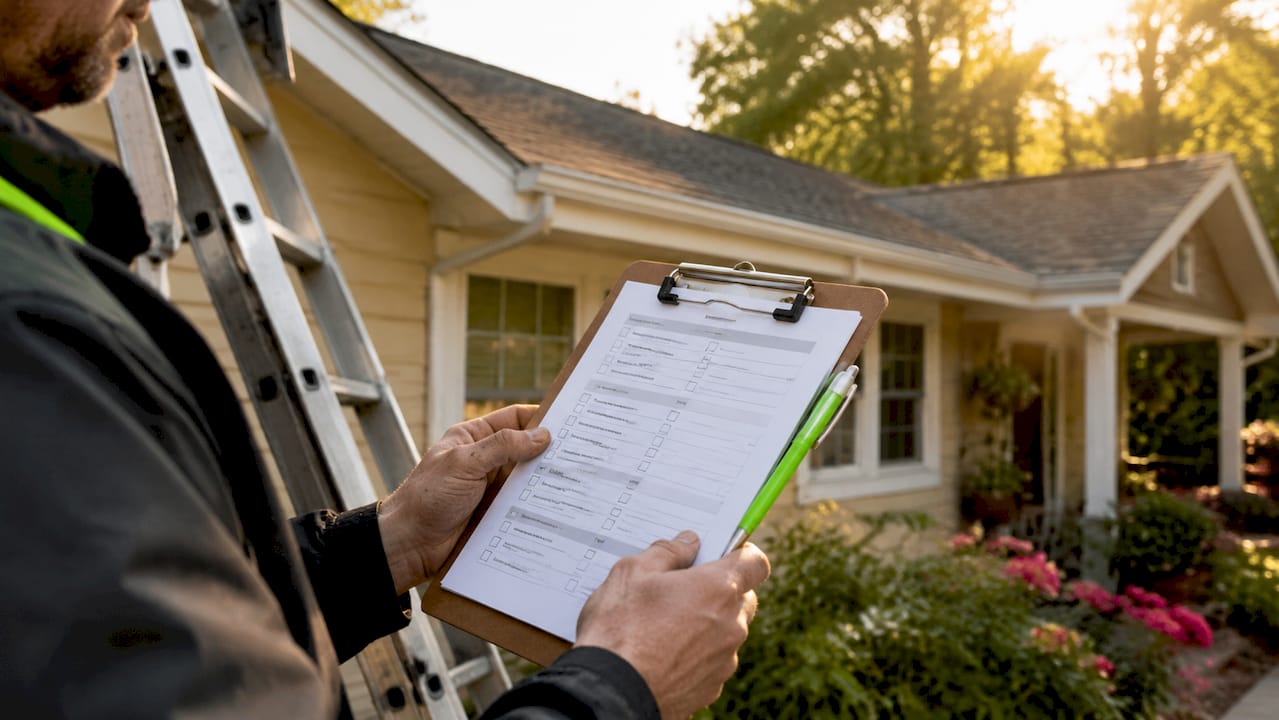
Exterior inspection checklist
During the exterior phase, a qualified inspector checks:
- Shingles: Proper alignment, secure fastening, and no lifted or misaligned tabs
- Flashing: Correct installation at valleys, chimneys, skylights, and wall transitions
- Sealing: Adequate sealant at all penetrations and edges
- Gutters and drainage: Secure attachment, correct slope, and no debris blocking flow
- Fascia and soffits: No damage caused during the repair process
A final inspection verifies secure shingle fastening, correct flashing installation, proper ventilation, drainage components, and overall roof appearance. Each of these items has a direct impact on how long your repair holds up.
Interior and attic assessment
The interior phase checks your attic for ventilation, moisture, and structural condition. Poor attic ventilation is one of the most overlooked problems after a roof repair. It causes heat and moisture to build up, which degrades shingles from the inside out and voids many manufacturer warranties.
Moisture meter readings above 19% confirm active water intrusion inside attics or walls. That threshold is the professional standard for determining whether a leak is still active after a repair.
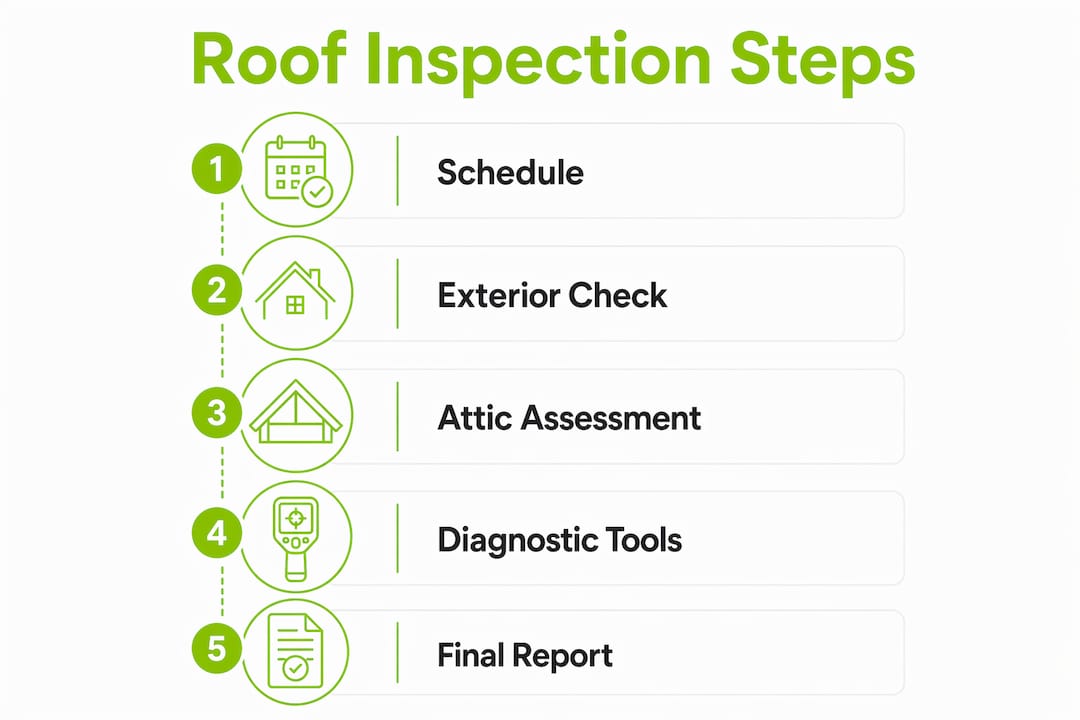
Advanced diagnostic tools
A two-phase inspection sometimes uses drones or thermal imaging for a complete evaluation. Infrared thermal imaging detects 80–90% more problems than visual inspections alone by identifying moisture paths inside roofing structures. That difference is significant. A visual inspection can miss a slow leak that thermal imaging catches in minutes.
Pro Tip: Stand at each corner of your home and scan the roofline from a low angle before your inspector arrives. Raised shingles and alignment issues are often visible from this angle and invisible from directly below. Flag anything you notice so the inspector can prioritize those areas.
Why timing matters for your roof evaluation after repairs
The industry-standard recommendation is to schedule a post-repair inspection within 2–4 weeks of project completion. That window is not arbitrary. It gives materials enough time to settle and seal properly, while keeping the contractor accountable and available to fix any issues found.
Waiting too long creates two serious problems.
- Warranty gaps: Most roofing manufacturer warranties require documented proof of correct installation. Delaying your inspection means delaying that documentation. If a defect surfaces six months later, you may have no recourse.
- Escalating repair costs: Ignoring a roof leak can push repair costs from the $400–$1,500 range up to $4,000–$15,000 once structural damage and mold remediation enter the picture. A timely post-repair roof check costs a fraction of that.
- Contractor availability: Contractors are easiest to reach for warranty corrections in the weeks immediately after a job. Once months pass, scheduling a callback becomes harder and disputes become more common.
- Insurance claim support: If your repair was tied to a storm damage insurance claim, your insurer may require documented verification that the work was completed correctly. A timely inspection report satisfies that requirement.
The 2–4 week window protects you on all four fronts. Schedule it before you make your final payment to the contractor.
Common issues found during a post-repair roof check
Hidden defects like improper flashing, poor attic ventilation, and loose shingles are frequently undetectable without a dedicated inspection. These are not rare edge cases. They show up regularly even after professional repairs.
“Even professional roof installations can harbor hidden defects like improper flashing or ventilation issues undetectable without a dedicated post-completion inspection.” — Shumaker Roofing
The most common problems inspectors find after repairs include:
- Improper flashing installation: Flashing that is not sealed or overlapped correctly allows water to enter at the most vulnerable points of the roof, including chimneys and valleys.
- Lifted or incorrectly nailed shingles: Shingles that are not fastened at the correct nail line can lift in wind and allow water underneath.
- Ventilation blockages: Insulation or debris pushed into soffit vents during a repair restricts airflow and causes moisture buildup.
- Structural gaps: Areas where the decking was disturbed but not properly re-secured create soft spots and long-term sagging.
- Persistent leaks from diagnostic failures: Water travels 10–15 feet from its actual entry point before showing up as a stain on your ceiling. A repair targeting the wrong area will not stop the leak.
That last point is critical. Many homeowners assume a repair fixed the problem because the contractor addressed the most visible damage. But if the original leak source was misidentified, the water will find a new path and the damage will continue. An independent inspection with thermal imaging or moisture metering catches this before you close out the job.
The cost of ignoring a leaky roof compounds quickly once mold and structural rot enter the picture. A post-repair inspection is the checkpoint that prevents that outcome.
How to prepare for and use your inspection results
Homeowners and property managers get the most value from a post-repair inspection when they treat it as a business transaction, not a formality.
Schedule an independent third-party inspection after the contractor’s walkthrough but before your final payment. That timing gives you maximum leverage. If the inspector finds punch-list items, you have not yet released the funds that motivate the contractor to return and fix them.
Pro Tip: Ask your inspector to provide a written report with photos for every finding. That document is your evidence if a warranty dispute or insurance claim arises later. A verbal summary is not enough.
Here is what to look for when choosing an inspector and reviewing results:
| Factor | What to look for |
|---|---|
| Inspector credentials | Licensed, insured, and independent from your contractor |
| Report format | Written report with timestamped photos |
| Technology used | Thermal imaging or moisture metering for hidden defects |
| Warranty documentation | Confirmation that installation meets GAF or manufacturer specs |
| Follow-up process | Clear steps if defects are found before final payment |
If the inspection report identifies problems, present it to your contractor in writing and request a correction timeline before releasing final payment. Most reputable contractors will address legitimate findings quickly. If they do not, the written report gives you the documentation needed to file a warranty claim or dispute the charge.
Property managers overseeing multiple units benefit especially from this process. A documented inspection record for each property creates a maintenance history that supports future insurance claims and resale valuations. For successful roof repair projects in Florida, this paper trail is particularly valuable given the frequency of storm-related claims.
Key Takeaways
A post-repair roof inspection is the single most effective step homeowners and property managers can take to verify repair quality, protect warranties, and prevent costly hidden damage.
| Point | Details |
|---|---|
| Schedule within 2–4 weeks | Inspect after materials settle but while the contractor is still accountable. |
| Use independent inspectors | Third-party inspectors catch defects that contractor walkthroughs miss. |
| Thermal imaging finds more | Infrared tools detect 80–90% more problems than visual checks alone. |
| Inspect before final payment | Withholding payment gives you leverage to get defects corrected quickly. |
| Document everything | A written report with photos protects your warranty and insurance claims. |
What I’ve learned from years of watching homeowners skip this step
I have seen the same pattern repeat itself too many times. A homeowner gets a repair done, the contractor does a quick walkthrough, everyone shakes hands, and the final check clears. Then three months later, there is a water stain on the ceiling. The contractor is hard to reach. The warranty paperwork is vague. And the repair that cost $900 is now turning into a $6,000 mold remediation job.
The uncomfortable truth is that most homeowners trust the contractor’s own walkthrough as the final word on quality. That is the wrong assumption. A contractor’s walkthrough is not an independent inspection. It is a sales close. The contractor is confirming that the job looks done, not that it was done correctly to manufacturer specifications.
I have also seen property managers who manage dozens of units skip post-repair inspections to save time. That decision almost always costs more in the long run. One undetected flashing failure on a flat commercial roof can cause water intrusion across multiple units before anyone notices.
The homeowners who come out ahead are the ones who treat a post-repair inspection the same way they treat a home purchase inspection. You would not buy a house without an independent inspection. You should not pay for a roof repair without one either. The cost of the inspection is minimal compared to the protection it provides. Schedule it, get the written report, and keep it on file. That single document can save you thousands.
— Anthony
Hytzroofing’s certified inspection services for Florida homeowners
You just had your roof repaired. Now you need to know the job was done right.
Hytzroofing holds the GAF Master Elite® Contractor designation, earned by fewer than 2% of roofing contractors across North America. That credential means every inspection Hytzroofing conducts is held to GAF’s rigorous installation and quality standards. Hytzroofing also carries full Florida Contractor License #CCC1332551, general liability insurance, and workers’ compensation coverage.
Whether you need a post-repair roof check after storm damage or a full quality verification before releasing final payment, Hytzroofing’s team serves homeowners and property managers across Tampa, Plant City, and surrounding Florida communities. Connect with a certified roofing contractor to schedule your inspection and get a written report you can rely on.
FAQ
What is a post-repair roof inspection?
A post-repair roof inspection is a professional evaluation conducted after roofing repairs to verify workmanship quality, code compliance, and warranty requirements. It includes exterior checks of shingles and flashing, plus an interior attic assessment for moisture and ventilation.
When should I schedule a roof inspection after repairs?
Schedule your inspection within 2–4 weeks of repair completion. That window allows materials to settle while keeping the contractor available and accountable for any corrections needed.
What does thermal imaging find that a visual inspection misses?
Thermal imaging detects moisture paths inside roofing structures, identifying 80–90% more problems than visual inspections alone. It is especially useful for locating the true source of persistent leaks.
Should I get an independent inspector or use the contractor’s walkthrough?
Always use an independent third-party inspector. A contractor’s walkthrough confirms the job looks complete. An independent inspection confirms it was done correctly to manufacturer and code standards.
How does a post-repair inspection protect my warranty?
Most roofing manufacturer warranties require documented proof of correct installation. A written inspection report with photos provides that documentation and gives you evidence to support warranty or insurance claims if problems arise later.
Recommended
- GAF Master Elite Roofer in Tampa, FL | Hytz Roofing
- Types of Roof Repairs Florida Homeowners Need Most
- Weathering the Storm Expert Tips for Roof Leak Repair in Tampa Fl
- Introducing Enviroshake to Your Hoa
Related Hytz Roofing Services