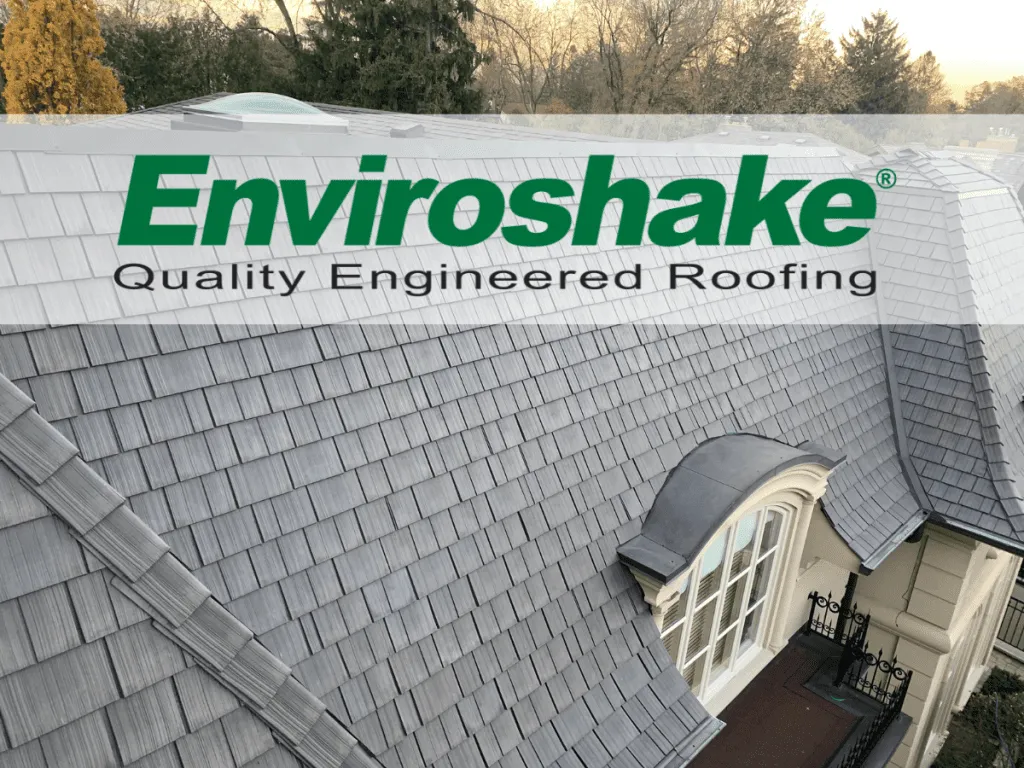
Roof replacement process outlines the typical steps involved in replacing a roof, from inspection and tear-off to decking repair, underlayment, flashing, and shingle installation. Hytz Roofing walks Tampa Bay homeowners through every step of a GAF-certified roof replacement.
Behind the Build: What Actually Happens When You Replace Your Roof
We Take The Guesswork Out of Roofing
Thinking about replacing your roof this summer, but not sure what the process actually looks
like? You’re not alone. A new roof can feel like a big project, but with the right team following guidelines from organizations like the FRSA and clear expectations, it’s surprisingly straightforward.
Let’s break it down, step by step - no jargon, no stress.
| Roofing Phase | Key Activities | Homeowner Expectation |
|---|---|---|
| Preparation | Material selection, site visit, permits | Clear timeline and style choices |
| Tear-Off | Removing old shingles, deck inspection | Noise and debris (cleaned daily) |
| Installation | Underlayment, flashing, new tiles | Fast, efficient process |
| Final Walkthrough | Quality check, warranty review | Peace of mind and maintenance tips |
Step 1: Your Style, Your Goals
It all starts with choosing the right look. With Enviroshake roofing, that means picking between our cedar-inspired Enviroshake, our classic slate-style Enviroslate, or 5” cedar Enviroshingle. Then, select a color that fits your home - whether it’s a warm Aged Cedar, sleek Onyx Black, or breezy Silver Cedar.
It can be tricky to visualize what a new roof may look like in your home - but don’t worry, we have the solution for that too! You can check out real home installs in our photo gallery or play around with styles using the roof visualizer tool.
What Details Are Checked Before Roof Installation?
Before installation begins, your contractor will conduct a thorough site visit to measure, assess the current roof, and secure necessary permits.
After you’ve chosen your look, your contractor will come by for a site visit. They’ll measure, assess the condition of your current roof, talk through the timeline, and help with any permits you might need.
Summer is a great time for installs - longer days, quicker dry times, and fewer weather delays all help keep things right on track.
This is also the time when your contractor will line up the materials - including some key components that help ensure performance and warranty protection. Some important installation details in our process are:
- Making sure to leave a 3/8” gap between each tile during install - this is important for proper expansion and contraction
- Using four nails per tile, one in each of the marked nailing spots
- For warranty coverage, installing Enviroshield® synthetic underlayment
- Live in a snowy or hail-prone region? Snow guards are highly recommended to help manage rooftop snow loads
Your installer will also follow local code, such as the Florida Building Code, for flashing, fasteners, and intersections - and always refer to Enviroshake’s official install guides for full product specs.
What Actually Happens During the Roof Installation Process?
The installation process involves tearing off the old roof, inspecting the decking, applying underlayment, and installing the new roofing materials.
Here’s a quick breakdown of what a typical installation looks like:
- Step 1: Tear-off of the old roofing shingles and inspection of the decking underneath
- Step 2: Underlayment is applied
- Step 3: New Enviroshake tiles are installed, trimmed, and cleaned up
Yes, this process can be noisy at times - but our contractors always keep the site tidy and safe throughout the process. Cleanup typically happens at the end of each day.
Did you know that Enviroshake products are lightweight and designed for easy installation? This results in faster and more efficient installation compared to conventional options.
Step 4: Final Touches
Once everything’s finished, your contractor will do a final walkthrough with you to make sure everything looks and performs as it should. They’ll check for proper installation according to NRCA standards, confirm all flashing and trim work is sealed and secure, and answer any questions you may have. This is also a great time to review maintenance tips and warranty info, so you feel confident moving forward with your new quality engineered Enviroshake roof.
Step 5: Enjoy the Results
Now comes the fun part: enjoying your refreshed home. No more worries about leaks, rot, or worn-out shingles. Just peace of mind and a roof that’s built to handle whatever summer - o winter - throws your way.
Get ready for even more BBQs and porch hangs, your home is now just as ready for summer as you are.
Thinking About a Roof Upgrade This Summer?
We’ve got tools to help you get started with confidence:
✔️ Download our Enviroshake brochure to learn more✔️ Find a certified installer near you✔️ Request a free sample
Listen to the Deep Dive Episode!
Related Resources: Enviroshake Roofing Options | Residential Roofing Services | Get a Free Estimate